Soldering
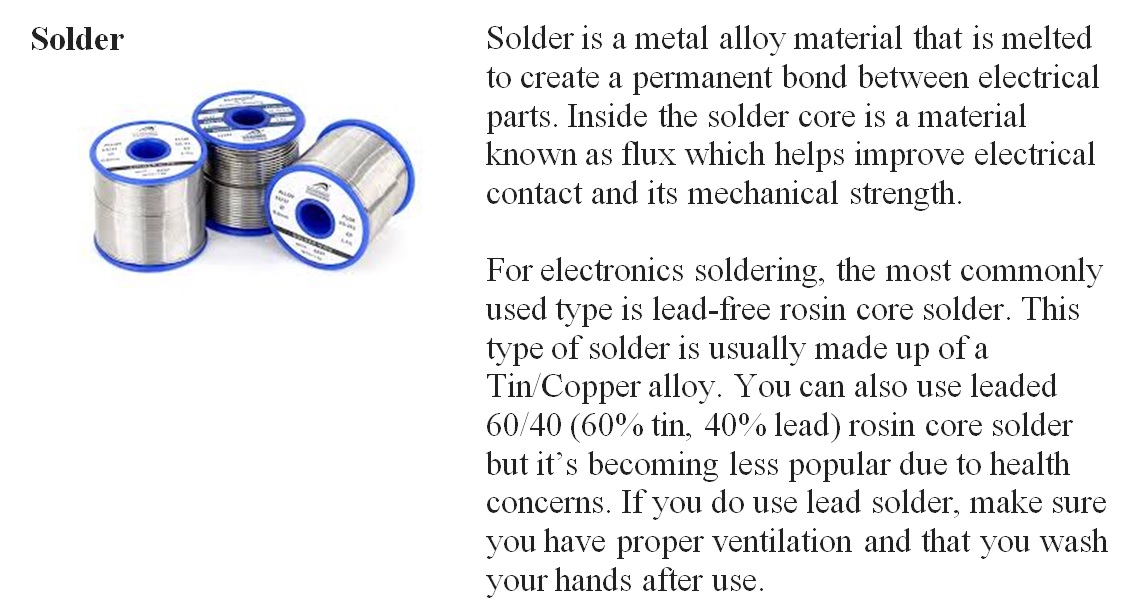
Till now we have used a breadboard to build new circuits. A breadboard lets you quickly test new ideas and experiment with different components to see the result, but it isn't a permanent solution. Components can easily fall out, and there can be loose wires all over the breadboard. When you want to use a circuit for a long time without changing it, it's better to solder the circuit to a circuit board. Soldering is kind of like gluing: you melt a material called solder onto the component legs so the components stick to the circuit board.
A circuit board has holes like a breadboard, and when you solder components to it, they become connected by plates of copper. Even though soldering can create a permanent connection, it can also be reversed using a de-soldering tool
One of the most fundamental skills a technician should be able to master is the ability to solder electronics. Whether you're building a circuit or working with Arduino, knowing how to solder will come in handy. The best thing about soldering is that it's really fun to learn and easy to master.
Soldering Tools


Soldering Safety Tips:
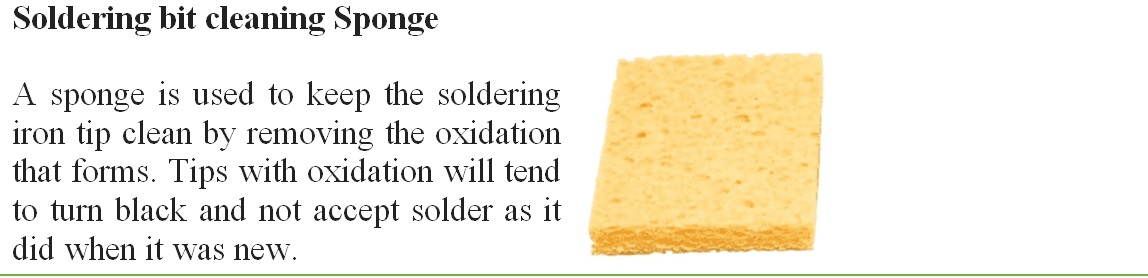
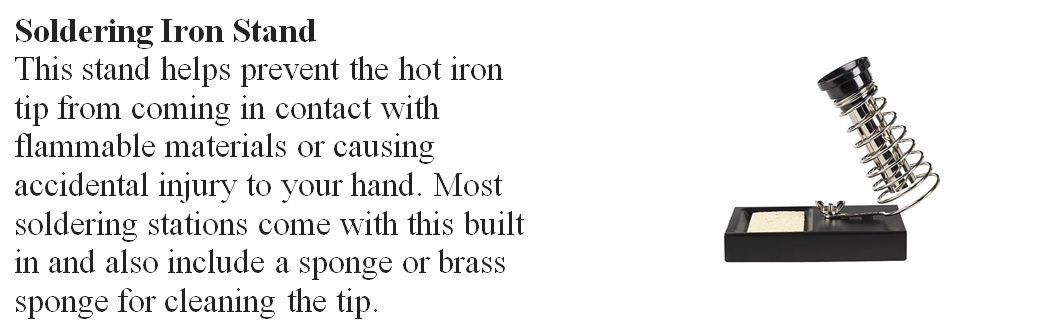
Soldering irons get extremely hot, and you can burn yourself if you touch the metal part of a soldering iron while it's plugged in. Always return the soldering iron to its stand when you're not using it; never lay it directly on a surface. Avoid touching joints (soldered connections) and components for a few seconds after you solder them, too. They can get hot enough to burn.
Here are some other important safety tips to keep in mind while soldering:
i) Keep the hot parts of the soldering iron away from the power cord.
ii) If you're soldering on a table, protect the surface with a piece of wood or some thick cardboard.
iii) Always wash your hands after handling solder.
How to Solder
1. Heat the soldering iron. After a minute or two, check whether the iron is hot enough by touching some solder to the tip of the iron. If the solder melts, your iron is ready to go.
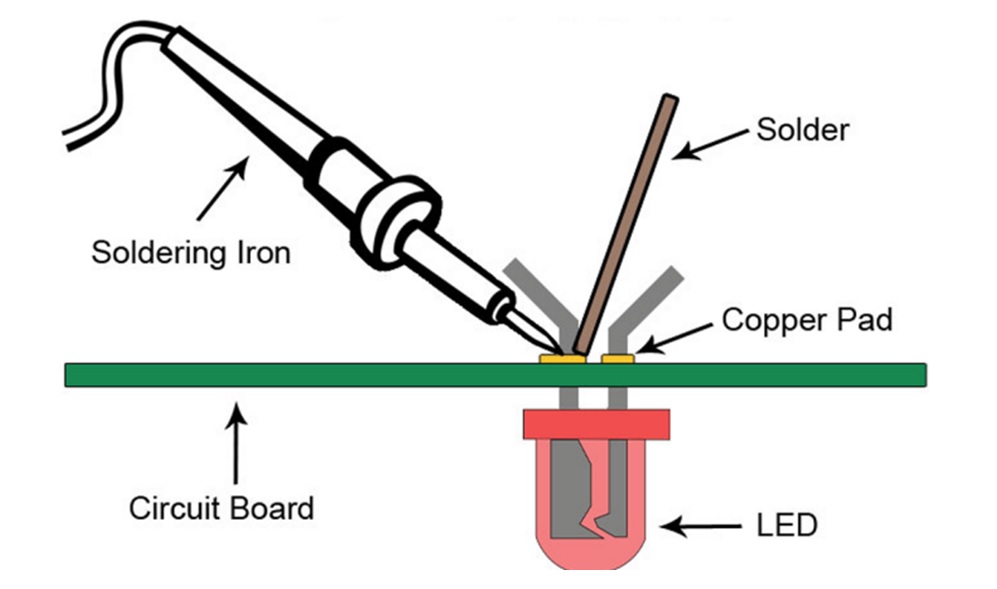
2. Mount the component on the circuit board.
3. To heat the joint faster, add a bit of solder to the tip of the soldering iron just before you start soldering. This is called tinning. This must be done just a second or two before soldering to be effective.
4. Place the tip of the soldering iron onto both the component leg and the copper strip. Heat the strip and leg for a couple of seconds before you move on to the next step.
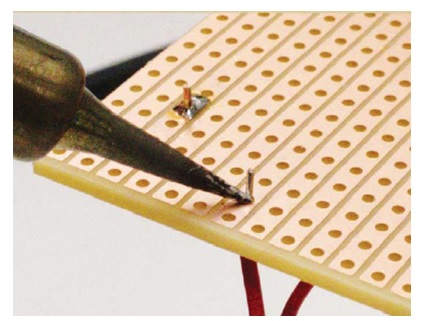
5. While keeping the soldering iron tip on the joint, touch some solder to the leg and the copper strip. As the solder melts, slowly add more until there's just enough to coat both the leg you're soldering and the copper strip you want to connect it to. When you have enough melted solder, remove the solder wire from the joint while still keeping the soldering iron tip on the joint.
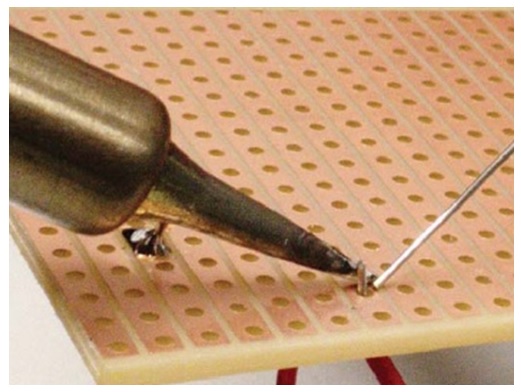
6. Remove the Soldering Iron: Finally, remove the soldering iron tip from the joint and place the iron in its stand. Always do this last. If you remove the iron while the solder wire is touching the solder joint, the solder wire may get stuck to the circuit board when the solder joint hardens.
Your solder joint should have a cone shape.

If you're done soldering, then unplug the iron so it can cool down.
Watch Out for Bad Solder Joints!
It's important to heat both the component leg and the copper strip with the iron before touching solder to either. When you heat only the component leg and not the copper strip, the solder sticks to the leg, but there's no connection between the solder and the copper strip. If only the strip is heated, the solder will stick to the strip, but not the leg. It could look like a good soldering joint from a distance, but the solder probably won't be connected to the leg.
You must also make sure the solder doesn't float over to another copper strip next to it. This will create an unintended connection between the two strips.
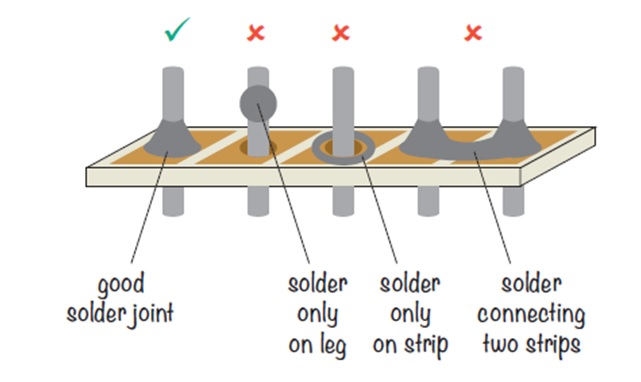
If your solder joint doesn't look right, don't worry. Just reheat the joint, the component leg, and the copper strip and add more solder to achieve the cone shape of a good solder joint.